TAPPING SUGAR MAPLE TREES FOR SYRUP
OUR SUGAR MAPLE SYRUP TAPPING EXPERIMENT
A HOME MADE TAP FOR SUGARING
For the sap to run the nights must be cold (mid 20's F) and the daytime temps must get above 40 F. We decided to try and tap our tree on February 24th, 2006.
According to History the settlers learned sugaring from the Indians. It has been recorded that the Indians collected sap in hollowed out logs and steamed away the water by dropping hot stones in the collected sap. At their 'sugar camps' they not only made sweet water & heavy syrup but also maple sugar. There are some areas here in the U.S. that have Tappin' parties when it is time to collect the sap and start the syrup making process.
There are several names for this Season of the year.
Sugaring Season
Sugaring Time
Tappin' Season
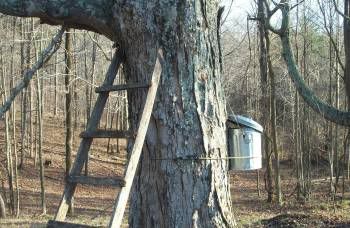
The first step is to pick a Healthy Maple Tree.
Its diameter is about 3 feet and it is about 50 feet tall.
Pictured below is the Sugar Maple tree we are going to try and tap.
We have four large maples in the 'yard' of the old cabin we found in our woods.
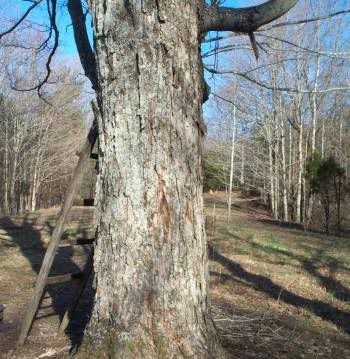
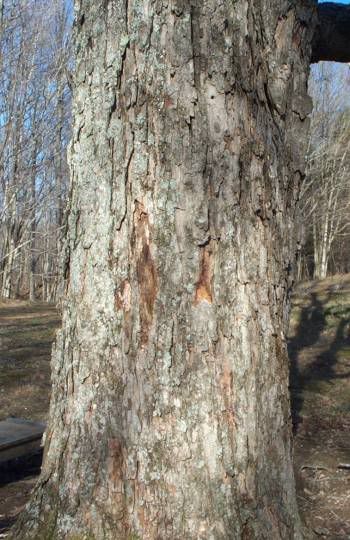
Picking the sunniest side of the tree,
he gently removed some of the bark from around the tapping area.
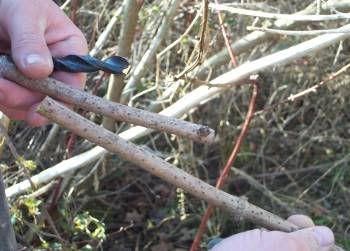
We decided to try and make a home made tap.
Here we are harvesting a branch off of one of the elderberry bushes
we found while exploring in our woods. Using the drill bit as a guide, he is checking to make sure the tap hole and the actual tap sizes will match. You must match up the hole in the tree with the size of the tap.
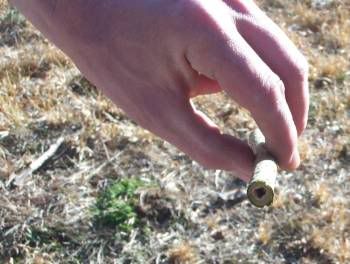
He is making a tap (spile) for the sap.
Using a pocketknife, he is trimming off the elderberry bark and cutting the
branch to the desired spile length.
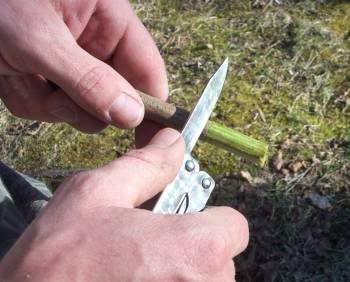
He is hollowing out the elderberry tap. Making sure the sap can flow evenly through the spile...
Placing our homemade tap in the tree. He drilled the hole with a slight upward slant
approximately 2 to 2 1/2 inches deep. Right away the sap starts flowing.
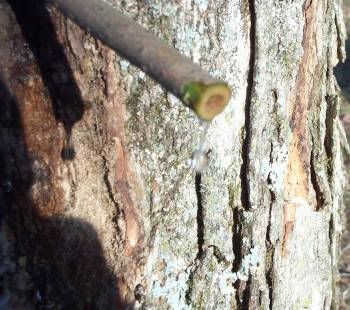
The sap is running VERY well. Even Better than we had expected.
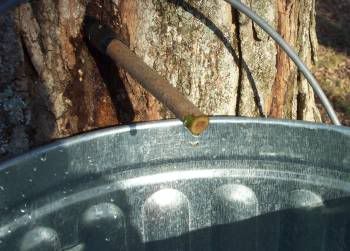
We decided to use a clean galvonized 6 gallon can with lid to catch the sap.
The can and lid are secured in place. We hung a small screw in hook to hang the can in place. Securing the can with bungee cords because we aren't sure how heavy the can will be or even how much sap will be harvested.
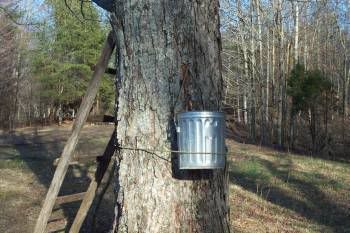
The can has been filling for about 24 hours, we have had to empty several gallons out so it did not spill over. We are scrambling to find enough containers for the harvested sap. We used clean gallon milk jugs and stored them in the refrigerator until we start the evaporation process.
The wood stove that we are going to use to boil the sap is very old and we got it free from a local recycling flea market website. We are using logs that he harvested from downed trees in our woods for the fire.
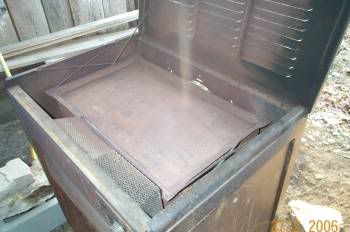
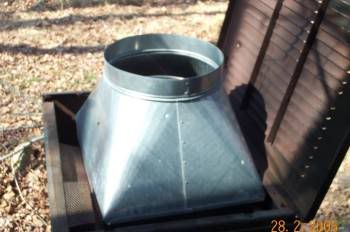
He surrounded the stockpot with a clean recycled heating duct to
help keep the sap clean and free from flying insects and curious cats.
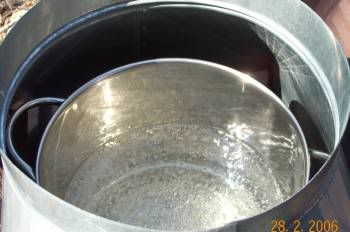
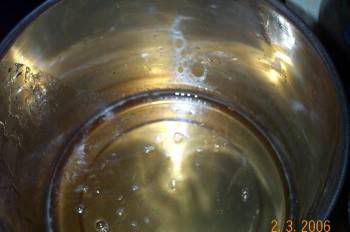
I am surprised at the appearance of the sap. Most of the sap's content is made up of water. The liquid is totally clear and tastes like mild sugary water.
In the next picture, the sap is starting to boil nicely. As the sap boils down, he fills the stockpot, continuing to boil down the liquid. From time to time he skims the top with a spoon to remove surface foam and other unwanted particles.
Notice the color change from the previous picture. The sap is boiling down and the water is evaporating s l o w l y. The smell of the boiling sap is amazing. The harvested sap had no smell at all but as it boils down, it starts to smell like syrup !
After it has finished boiling, he brought the syrup inside and strains it using coffee filters and metal strainers.
On average it takes about 10 gallons of sap to produce one quart of syrup.
He worked on boiling sap for several days. Stoking the fire, stirring, boiling, filling and straining but at long last...
The finished syrup is bottled, chilled and ready for the blueberry pancakes.
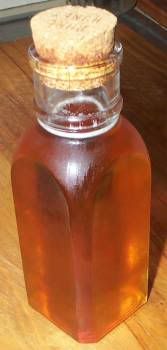
:)
SUGAR ON SNOW RECIPE
First:
Harvest a pan of clean snow.
Here are some Snow Ice Cream recipes.
Make sure you have clean snow.
Second:
Drizzle or Dribble some of your just cooked hot thick syrup over the snow and stir to make a rich taffy, that is known in syrup country as 'Sugar on Snow'.
This Taffy Recipe is very famous up North in
many areas that have annual Maple Syrup festivals.
You can visit a working sugar house and sample all of the delicious
Maple Syrup products. This is one of my dream trips, maybe
some day...
Return to Little Place Back In The Hills
posted by Sticklady @ 12:26 PM
![]()
![]()


<< Home